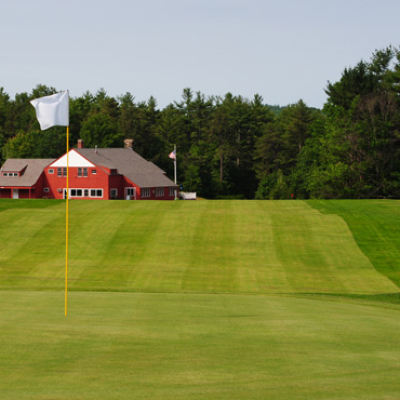
Tees – Black/410 – Blue/353 – White/337 – Green/264 Men – Par 4 hdcp 11 Women – hdcp 11 A slight dogleg left with out of bounds stakes on the left side separating the fairway from the practice range.
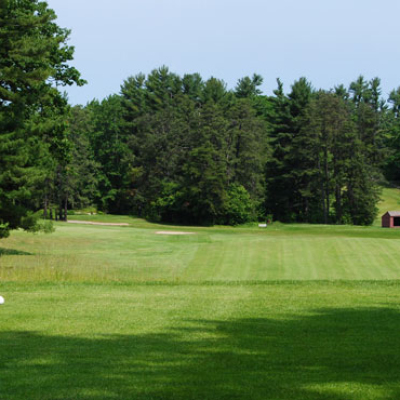
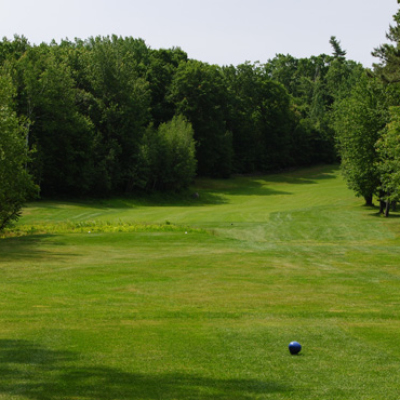
Hole 2 | Par 4
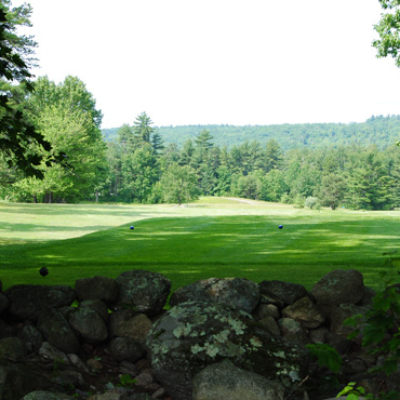
Tees – Black/355 – Blue/352 – White/310 – Green/302
Men –hdcp 13
Women – hdcp 13
From the blue tees, it is 265 yards to the fairway bunker. Balls hit toward the bunker tend to roll toward the middle of the fairway and the green slopes to the front right.
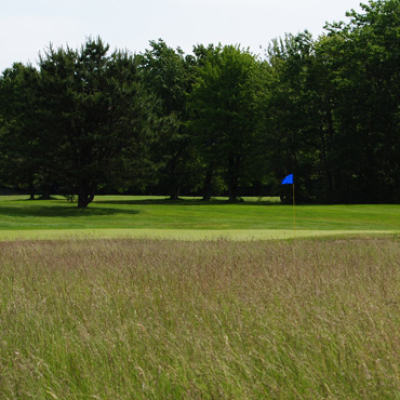
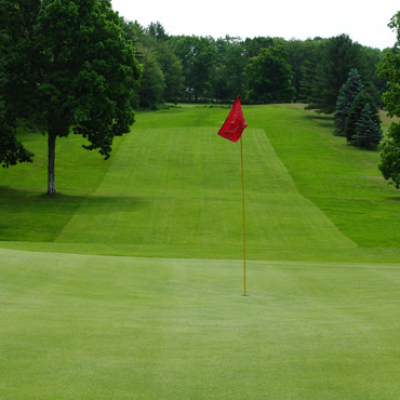
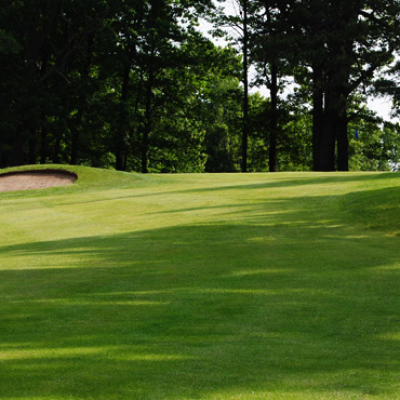
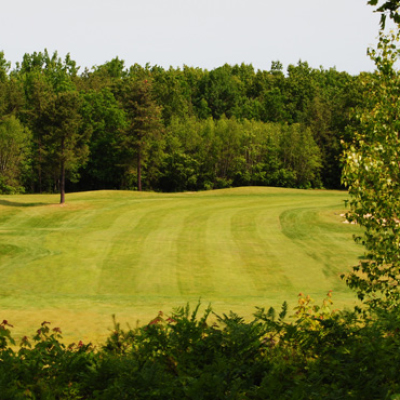
Hole 3 | Par 3
Tees – Black/212 – Blue/189 – White/145 – Green/141
Men –hdcp 15
Women – hdcp 15
A dip in the fairway just short of the green makes this hole looks shorter than it plays. Golfers often find that a tee shot short of the mound on the right side of the green can leave you with a tricky downhill shot.
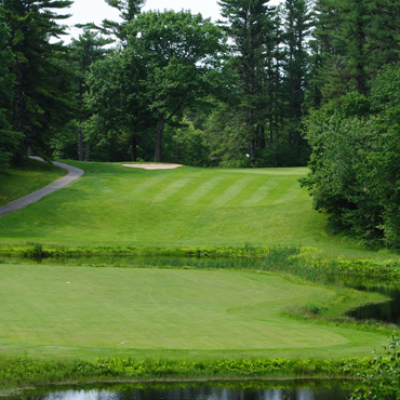
Hole 4 | Par 5
Tees – Black/467 – Blue/449 – White/380 – Green/376
Men –hdcp 5
Women – hdcp 1
Use the boulder in the distance as the line for your tee shot. The far bunker is 250 yards from the ball washer. If your tee shot is short of the corner and you decide to go over the trees, it is recommended to aim further to the right than necessary.
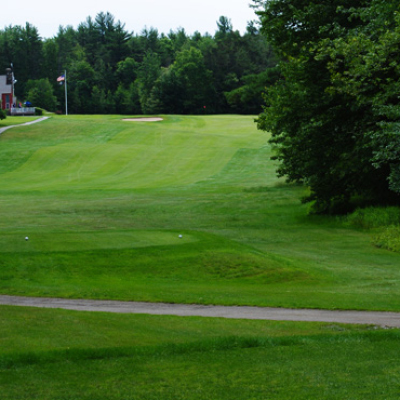
Hole 5 | Par 5
Tees – Black/522 – Blue/486 – White/422 – Green/371
Men –hdcp 3
Women – hdcp 3
It is recommended to use the boulder in the distance as the line for your tee shot, noting that the start of the grassy bank left of the boulder is 225 yards from the ball washer. A lay-up at the top of the hill will leave you about 140 yards from the green.
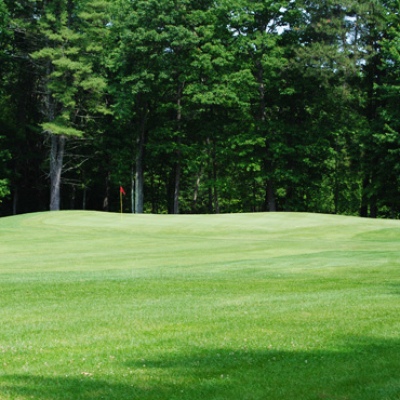
Hole 6 | Par 4/Par 5 (women)
Tees – Black/421 – Blue/410 – White/376 – Green/314
Men –hdcp 1
Women – hdcp 5
This is a challenging hole that requires two good shots to make the green. Add five to ten yards to your approach to compensate for the hill (hits shy of the top may roll back down). Note the yellow stakes on either side of the base of the hill.
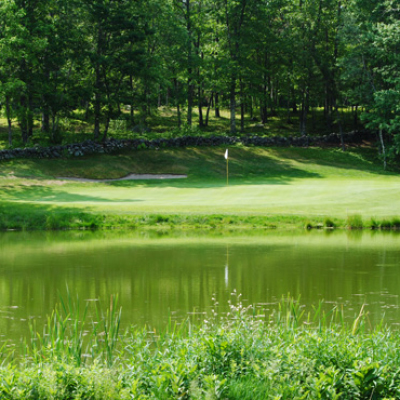
Hole 7 | Par 4
Tees – Black/368 – Blue/331 – White/278 – Green/275
Men –hdcp 7
Women – hdcp 7
This scenic hole is a right dogleg. From the blue tees, the water at the far end of the landing area is 200 yards away.
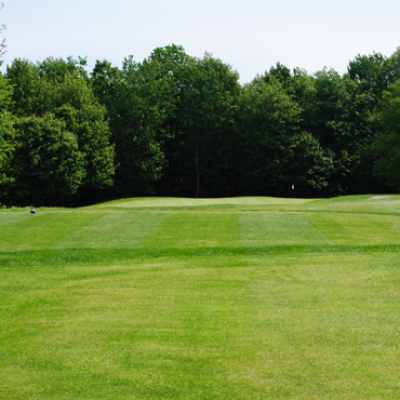
Hole 8 | Par 3
Tees – Black/152 – Blue/142 – White/131 – Green/129
Men –hdcp 17
Women – hdcp 17
The elevated tee makes this hole play approximately 7 yards shorter than the card, and it features a front bunker that catches balls landing short of the green.
Hole 9 | Par 4/Par 5 (women)
Tees – Black/413 – Blue/398 – White/366 – Green/279
Men –hdcp 9
Women – hdcp 9
It typically takes two good shots to hit this green which slopes towards the front from left to right. Out of bounds stakes are placed on the left side up to the woods and on the right side just past the woods.
Hole 10 | Par 4
Tees – Black/338 – Blue/333 – White/328 – Green/280
Men –hdcp 10
Women – hdcp 10
Feel free to aim as far left as necessary to avoid the woods down the right side. The green tilts from back to front.
Hole 11 | Par 4
Tees – Black/309 – Blue/309 – White/304 – Green/304
Men –hdcp 14
Women – hdcp 14
The fairway on this Par 4 narrows closer to the green and balls landing on the front half of the green will roll left.
Hole 12 | Par 5
Tees – Black/605 – Blue/489 – White/428 – Green/426
Men –hdcp 4
Women – hdcp 6
Except for long hitters willing to risk carrying the trees, this is a three shot par 5. A tee shot short, or just past the boulder in the center of the fairway, is a good play. From there, a shot 170 yards or so down the center of the fairway (or to the right of the center) will leave you an open approach to the green with a short iron.
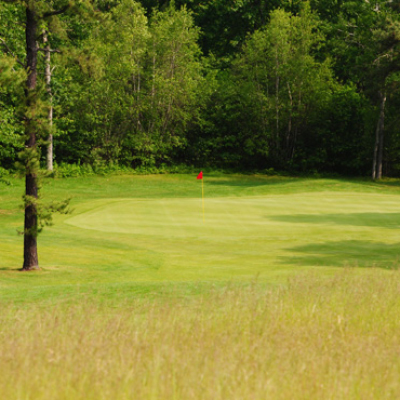
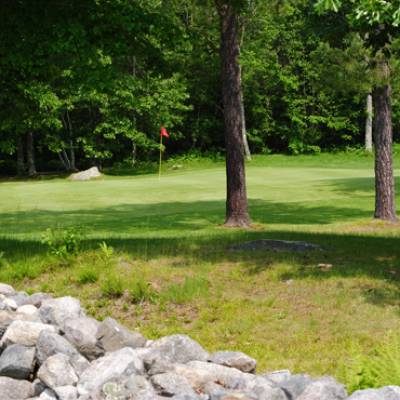
Hole 13 | Par 3
Tees – Black/115 – Blue/96 – White/74 – Green/72
Men –hdcp 18
Women – hdcp 18
A scenic view culminating in a two tiered green. A 105 yard shot will land you in the middle of the green, which slopes to the right.
Hole 14 | Par 4
Tees – Black/391 – Blue/330 – White/248 – Green/246
Men –hdcp 12
Women – hdcp 12
It is 200 yards to carry the bunker from a tee position even with the ball washer, and it is about 140 yards from the center of the dogleg to the middle of the green.
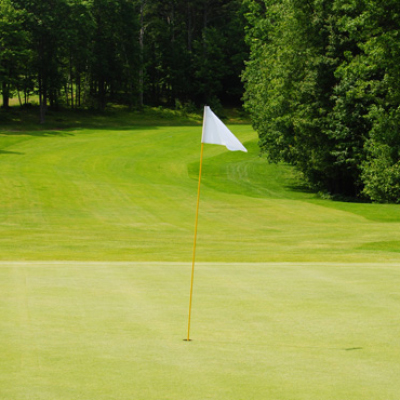
Hole 15 | Par 4
Tees – Black/410 – Blue/375 – White/331 – Green/290
Men –hdcp 2
Women – hdcp 2
On this uphill right dogleg a tee shot just right of the 150 yard marker will give you the best look at the pin. Beware, a bunker behind the green catches most balls that go long, and reaching a blue flag might take you two more clubs than reaching a red flag.
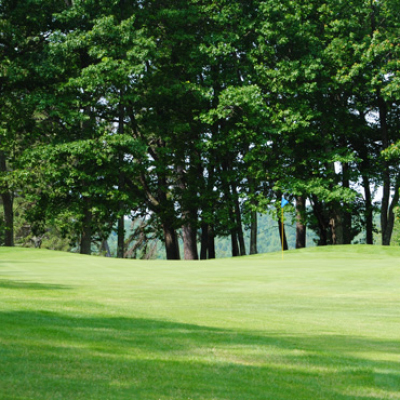
Hole 16 | Par 3
Tees – Black/210 – Blue/186 – White/143 – Green/141
Men –hdcp 16
Women – hdcp 16
A bunker guards the left side of the green and balls that land on the side of the hill to the right front of the green have a good chance of rolling on.
Hole 17 | Par 4
Tees – Black/429 – Blue/367 – White/248 – Green/246
Men –hdcp 8
Women – hdcp 8
A tee shot down the right side of the fairway will set up the best approach on this slight dogleg left. A bunker guards the right side of the green and out of bounds stakes are placed along the left side of the tee.
Hole 18 | Par 5
Tees – Black/576 – Blue/556 – White/448 – Green/445
Men –hdcp 6
Women – hdcp 4
This is a fairly long hole, but three shots will get you on the green. A tee shot down the right side of the fairway will allow you to use a longer club for your second shot.